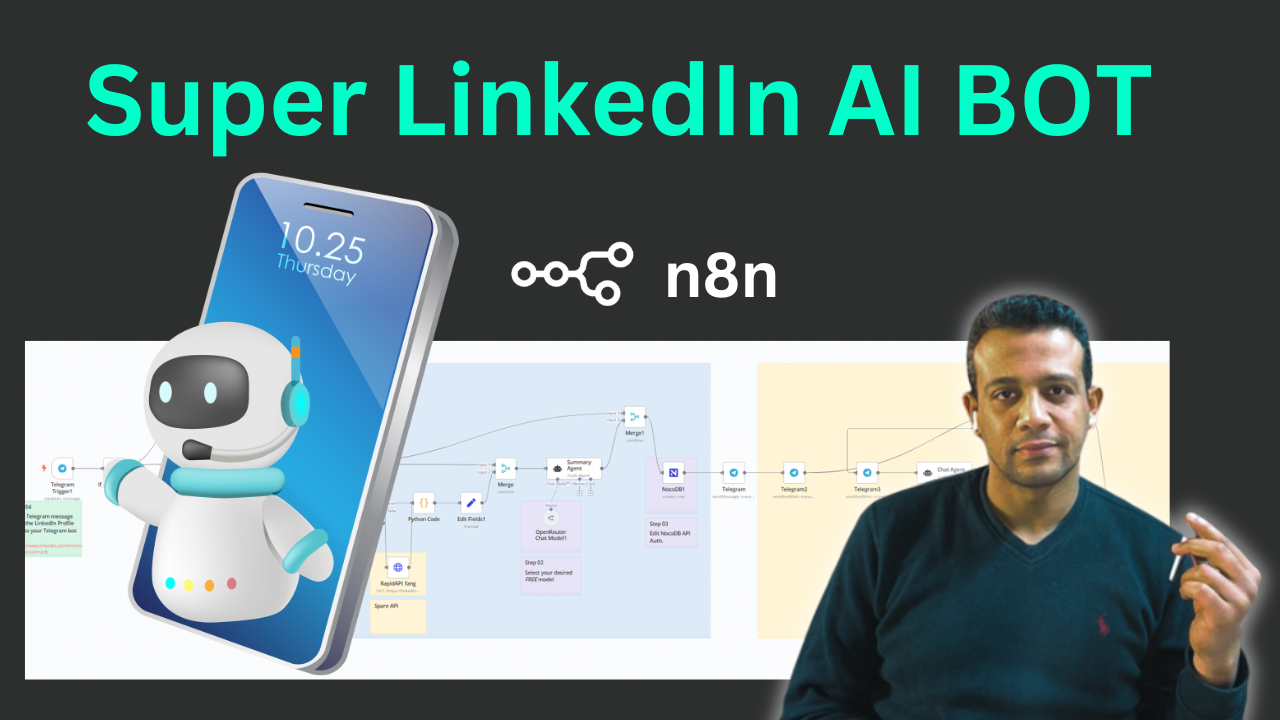
🌟 Introduction
Want to automate workflows without the complexity of cloud services? n8n is a powerful open-source workflow automation tool that lets you connect various applications and automate tasks efficiently 🔄. This guide will show you how to set up n8n on your home system using Cloudflare Tunnel in less than 10 minutes!
🌐 Preparing Your Cloudflare Account
Step 1: Set Up Your Cloudflare Account 👤
- Sign up for a Cloudflare account if you don’t already have one
- Ensure you have a registered domain connected to Cloudflare (this is essential!)
Check this post to achieve this step!
Step 2: Configure Zero Trust Network 🛡️
- Navigate to the Zero Trust section in your Cloudflare dashboard
- Set up a new zero trust organization if you haven’t already
- This creates a secure environment for your tunnel connection
Step 3: Create a Cloudflare Tunnel 🚇
- In the Zero Trust dashboard, find and select “Access” → “Tunnels”
- Click “Create Tunnel” and give it a meaningful name (i.e. n8n_tunnel)
- Follow the guided setup process to configure your tunnel
- This eliminates the need for complex HTTPS configuration, SSL certificates, or port forwarding! 🎉
💻 Setting Up Docker for n8n
Step 4: Install Docker Desktop 🐳
- If you don’t have Docker installed, download and install it from the official website
- Verify your installation by running
docker --versionin your terminal
Step 5: Pull n8n Docker Image 📦/ Create a Container with Data Persistence 💾
- Open your Windows PowerShell as Admin
- Run the following command to pull the official n8n image:
- _and replace YOURDOMAIN with your domain actual name_
docker run -d `
  --name n8n_container `
  -p 5678:5678 `
  -e WEBHOOK_URL="https://n8n.YOURDOMAIN.com/" `
  -e N8N_PROTOCOL="https" `
  -e N8N_HOST="0.0.0.0" `
  -e N8N_PORT="5678" `
  -v n8n_data:/home/node/.n8n `
  docker.n8n.io/n8nio/n8n:latest
🔗 Connecting Cloudflare to Your n8n Instance
Step 6: Configure Public Access Through Cloudflare 🌍
- In your Cloudflare Tunnel configuration, add a new application
- Set the application name (e.g., “n8n”)
- For the subdomain, enter what you’d like (e.g., “n8n.yourdomain.com”)
- Point to your local service with http://localhost:5678
- Save your configuration
Step 7: Verify DNS Record Creation ✅
- Cloudflare automatically creates the necessary DNS records
- No manual HTTPS or SSL configuration needed – Cloudflare handles it all! 🔒
🚀 Accessing Your n8n Instance
Step 8: Access Your n8n Dashboard 🖥️
- Open your browser and navigate to your configured subdomain (e.g., “n8n.yourdomain.com”)
- You should see the n8n welcome screen
- Create your admin account and start building workflows!
🎯 Benefits of This Setup
- Cost-Effective 💰: Avoid ongoing cloud hosting fees by self-hosting
- Secure 🔐: Cloudflare Tunnel provides enterprise-grade security without exposing your home network
- Easy Maintenance 🛠️: Simple Docker commands for updates and maintenance
- Persistent Data 📊: Your workflows remain intact even after system restarts
- Remote Access 🌎: Access your n8n instance from anywhere without complex VPN setups
🤔 Why Choose n8n?
n8n is a versatile workflow automation tool that allows you to connect various applications and automate tasks efficiently. With n8n, you can create powerful workflows really fast perfect for marketers, developers, and businesses needing task automation, data syncing, and improved productivity It’s particularly useful for automating repetitive maintenance tasks and can even be used to build AI-powered workflows