A Step-by-Step Guide
Linking your website to Cloudflare can significantly improve your site’s security, performance, and reliability. This comprehensive guide will walk you through the process of setting up Cloudflare as your DNS server in 2024.
🚀 Getting Started with Cloudflare
Step 1: Create or Log into Your Cloudflare Account 👤
- Begin by logging into your existing Cloudflare account or creating a new one if you don’t have an account yet.
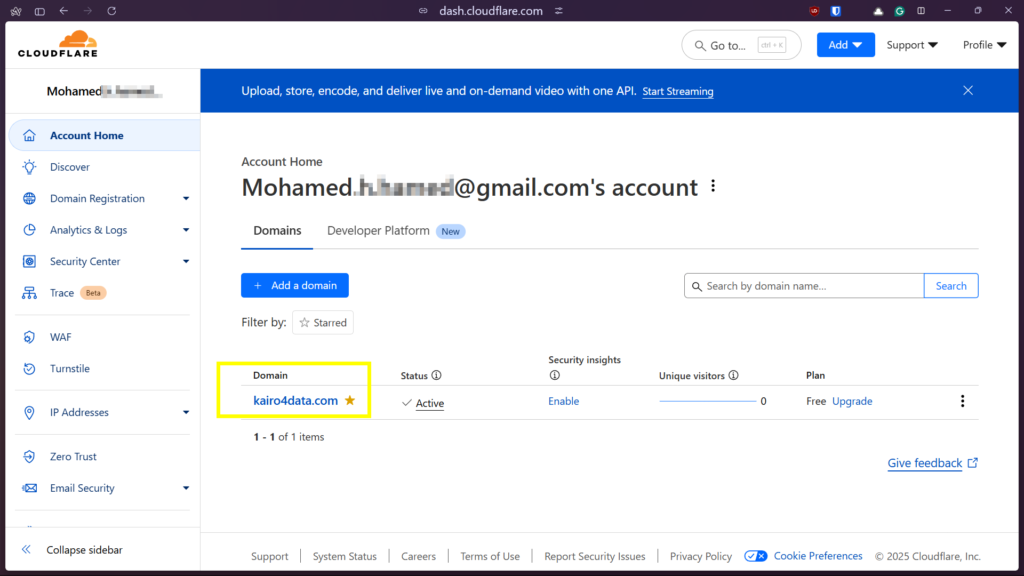
- Once logged in, you’ll be directed to the Cloudflare dashboard where you can manage all your domains and settings.
Step 2: Add Your Website to Cloudflare ➕
- From the dashboard, locate and click the “Add a site” option. Ensure you select the correct account for your domain management.
- Enter your domain name when prompted (e.g., yourdomain.com)
- If you don’t have a domain yet, What about trying Hostinger and getting an extra 20% discount?
Step 3: Select a Plan 💰
- Cloudflare will present you with several plan options.
- For smaller websites or those just starting out, the Free plan is recommended and offers substantial benefits.
- Review the features of each plan and select the one that best fits your needs.
🔄 Configuring DNS Records
Step 4: Set Up DNS Records Manually 📝
- After selecting your plan, you’ll need to configure your DNS records. Cloudflare will attempt to import existing records, but you may need to add some manually.
Step 5: Add an A Record for IPv4 🔢
- Click on “Add record” and select “A” as the record type.
- Enter “@” in the Name field to represent your root domain.
- In the IPv4 address field, enter your hosting server’s IPv4 address.
- Importantly, keep the proxy setting enabled (orange cloud icon) for enhanced security and performance benefits.
Step 6: Add an AAAA Record for IPv6 🌐
- If your hosting provider supports IPv6, add an AAAA record.
- Follow the same process as the A record, but enter your IPv6 address instead.
Step 7: Add a CNAME Record for www Subdomain 🔄
- Add a CNAME record to redirect “www” to your main domain.
- Enter “www” in the Name field.
- In the Target field, enter your root domain (e.g., yourdomain.com).
- Keep the proxy enabled for this record as well.
🔧 Updating Your Name Servers
Step 8: Change Name Servers at Your Domain Registrar 🔄
- Cloudflare will provide you with its name servers that you need to set up at your domain registrar.
- Copy these name server addresses (they typically look like ns1.cloudflare.com, ns2.cloudflare.com).
- Log in to your domain registrar’s website (where you purchased your domain).
- Navigate to the DNS or name server settings section.
- Replace the existing name servers with the ones provided by Cloudflare.
Step 9: Wait for DNS Propagation ⏳
- After updating your name servers, be patient as DNS changes can take a few hours to propagate across the internet.
- During this time, your website might be intermittently accessible through both old and new DNS settings.
🔒 Final Configuration and Verification
Step 10: Configure HTTPS Settings 🔐
- Once your domain is active on Cloudflare, go to the SSL/TLS section in your Cloudflare dashboard.
- Enable “Automatic HTTPS Rewrites” for seamless HTTP to HTTPS redirection.
- Initially, it’s recommended to leave “Always use HTTPS” off until you’ve fully tested your site.
Step 11: Verify Your Setup ✅
- After a few hours (sometimes up to 24 hours), visit your domain in a web browser.
- You should see your hosting server’s default page or your website if it’s already set up.
- Cloudflare will also send you a confirmation email once your domain is active on their network.
📊 Additional Tips
Monitor Your Website Performance 📈
- Use Cloudflare’s Analytics to monitor your website’s traffic and performance.
- This data can help you optimize your site further.
Explore Additional Cloudflare Features 🛡️
- Once your basic setup is complete, explore Cloudflare’s additional features like:
- Page Rules for custom redirects and caching behaviors
- Firewall settings for enhanced security
- Speed optimizations like minification and Brotli compression
By following these steps, you’ll successfully link your website to Cloudflare, benefiting from their security protections, performance optimizations, and reliability features. Remember that proper DNS management ensures your site remains accessible and secure, making this setup process an essential step in modern web hosting.